
Waitlist Manager
The Wait List Manager add-on automates the process of capturing wait list signups and promoting attendees when space becomes available.
Wait lists can operate in two modes:
- Whole Event mode, which is the default, makes the wait list available after all ticket options for the event are sold out or fully booked.
- Per Ticket mode allows attendees to join the wait list for an individual sold-out ticket while other tickets for the event remain available.
If a space becomes available, an attendee can be automatically promoted from the wait list. In Per Ticket mode, promotion is based on availability for the attendee’s selected ticket.
An active subscription for the Waitlist Manager feature upgrade is needed to use waiting lists on your Event Smart website.
The Waitlist Manager is also included in the business plan. Want to upgrade to this plan? Make the switch from your My Account page on EventSmart.com.
Overview
Here is an example of the registration flow to help you understand how the Waitlist Manager works:
- The Waitlist Manager springs into action as soon as an event becomes sold out.
- It then collects a name and an email address from attendees that are interested (up to a limit that you choose)
- Behind the scenes, it monitors an event for open spots, and when a spot opens up, then it reaches out to the next attendee in line through email and asks them to confirm their registration.
Think of the Waitlist Manager as an online assistant that helps keep your events full.
Setup and Configuration
- Login to your Event Smart and go to Event Smart –> Events –> Choose an event.
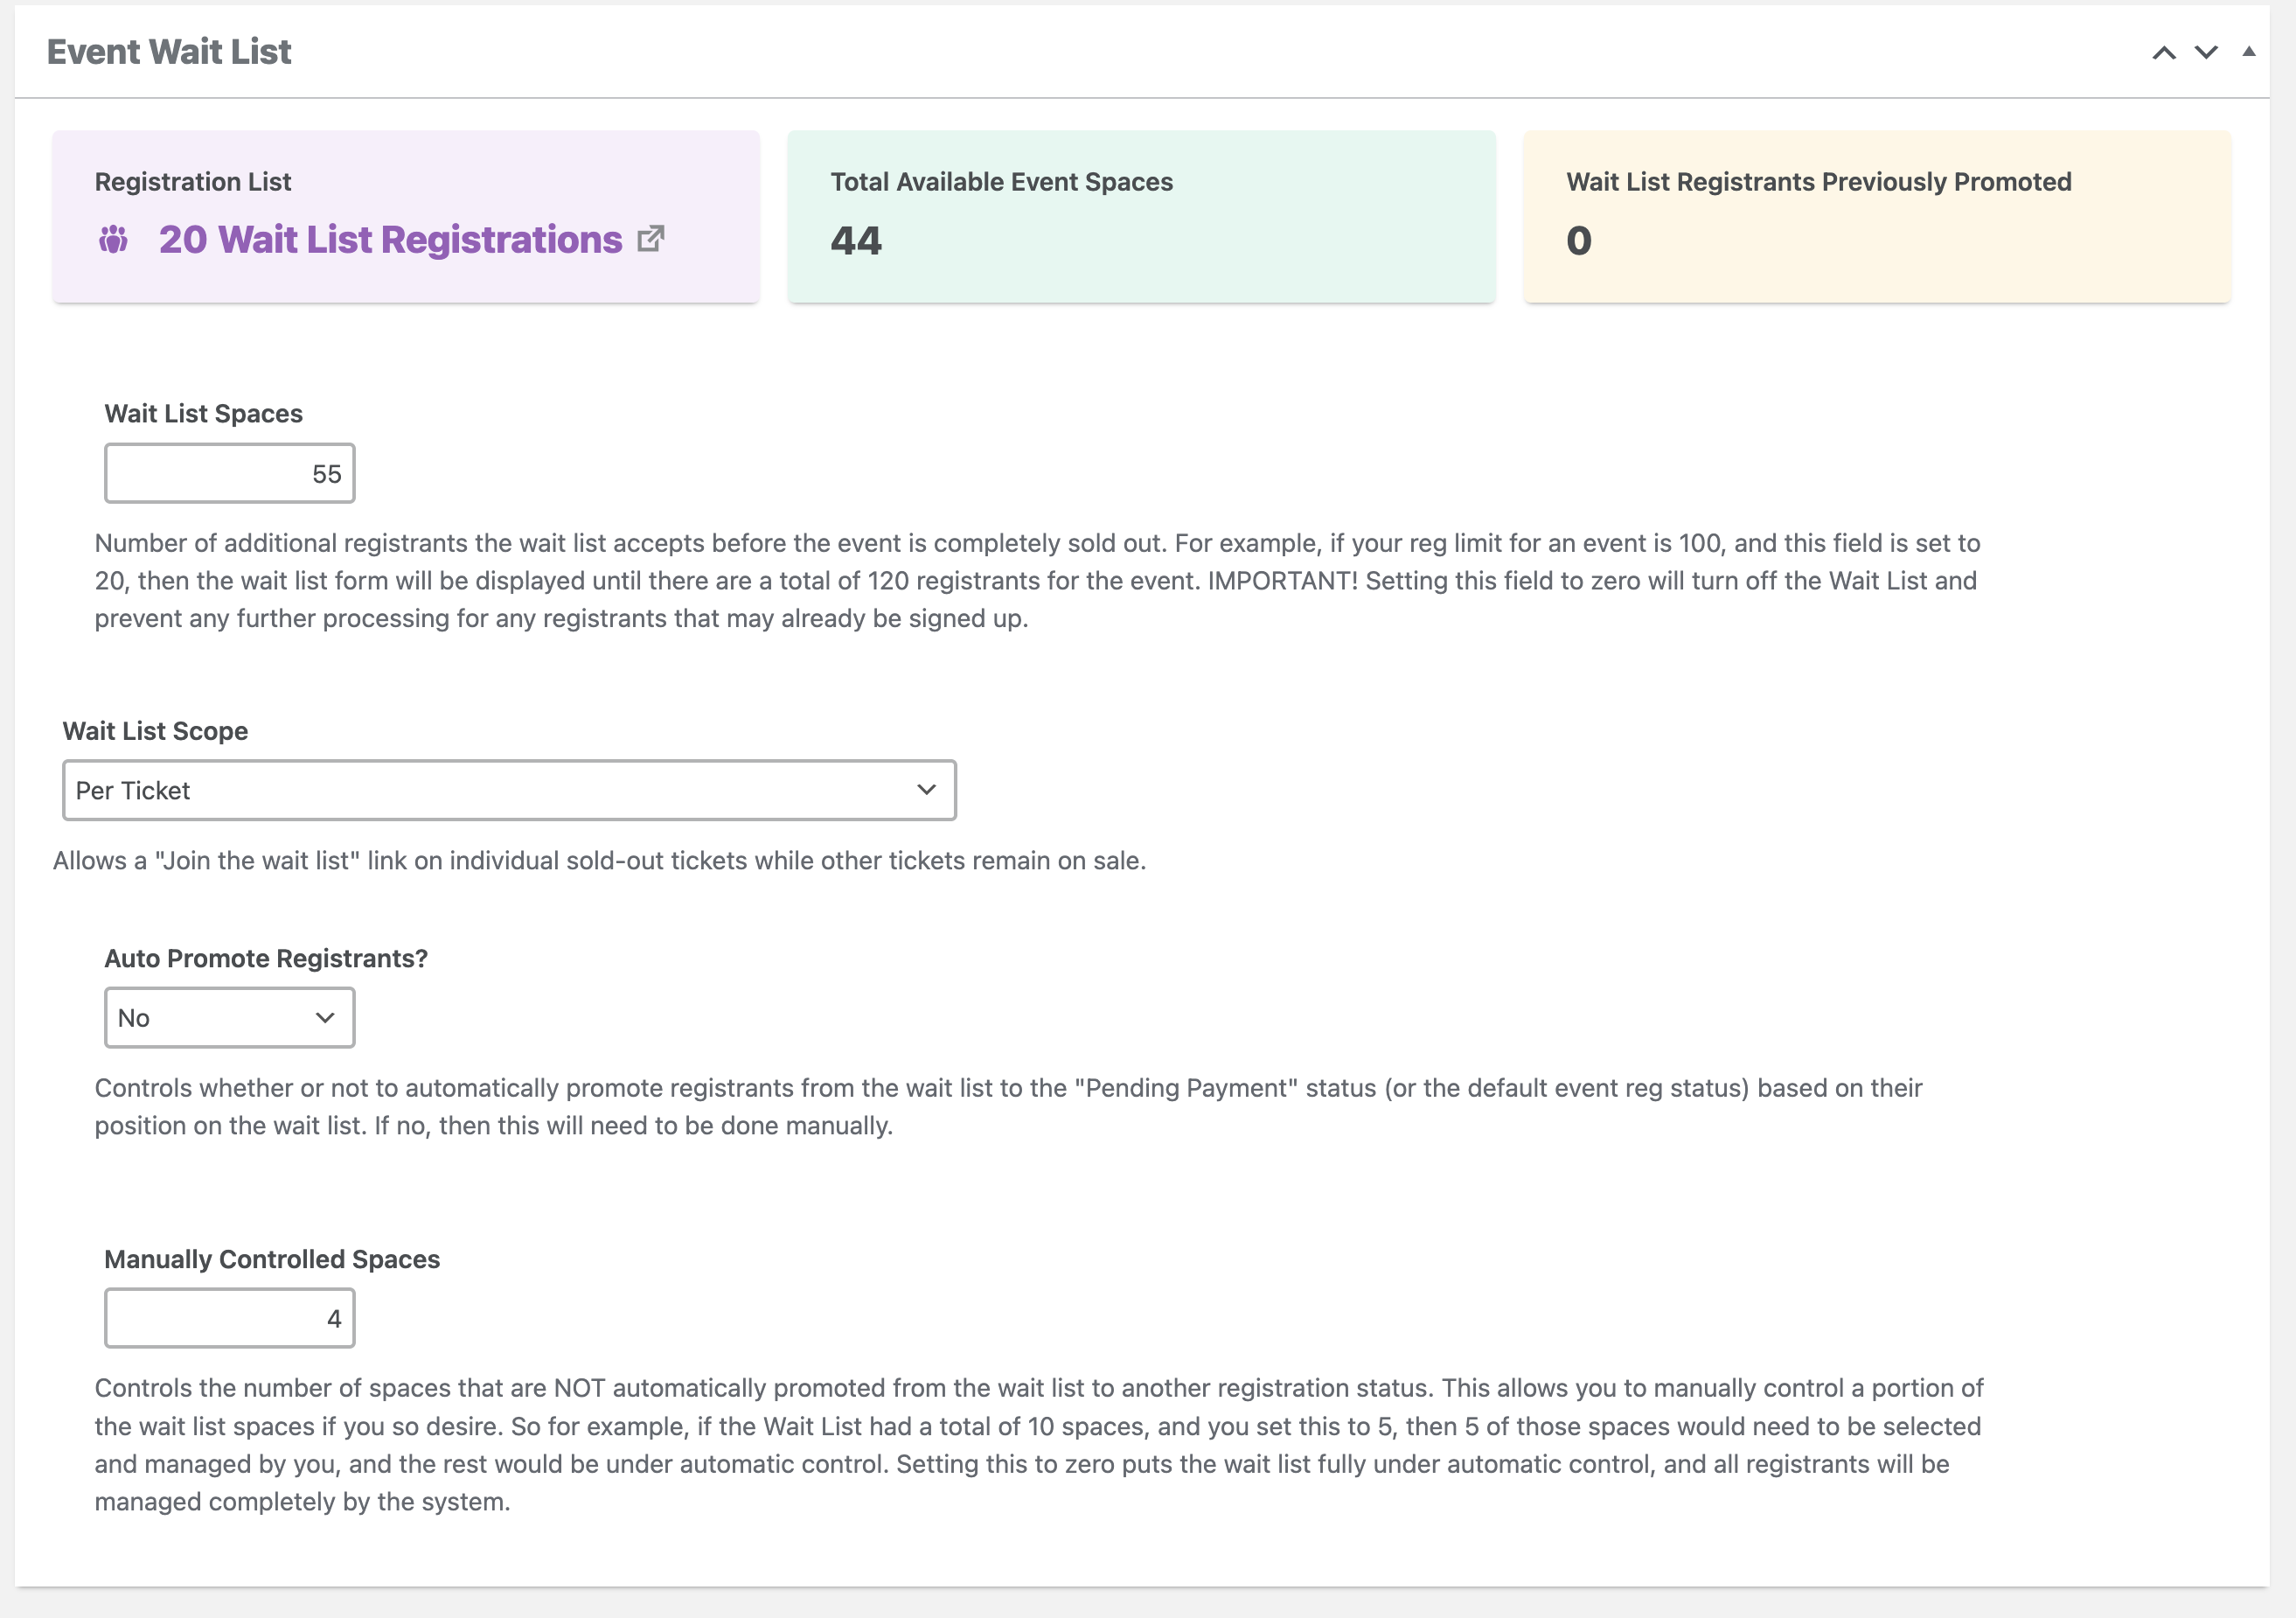
- You’ll now be viewing the overview screen for the selected event. Within the event page, scroll down until you see the Event Wait List settings.
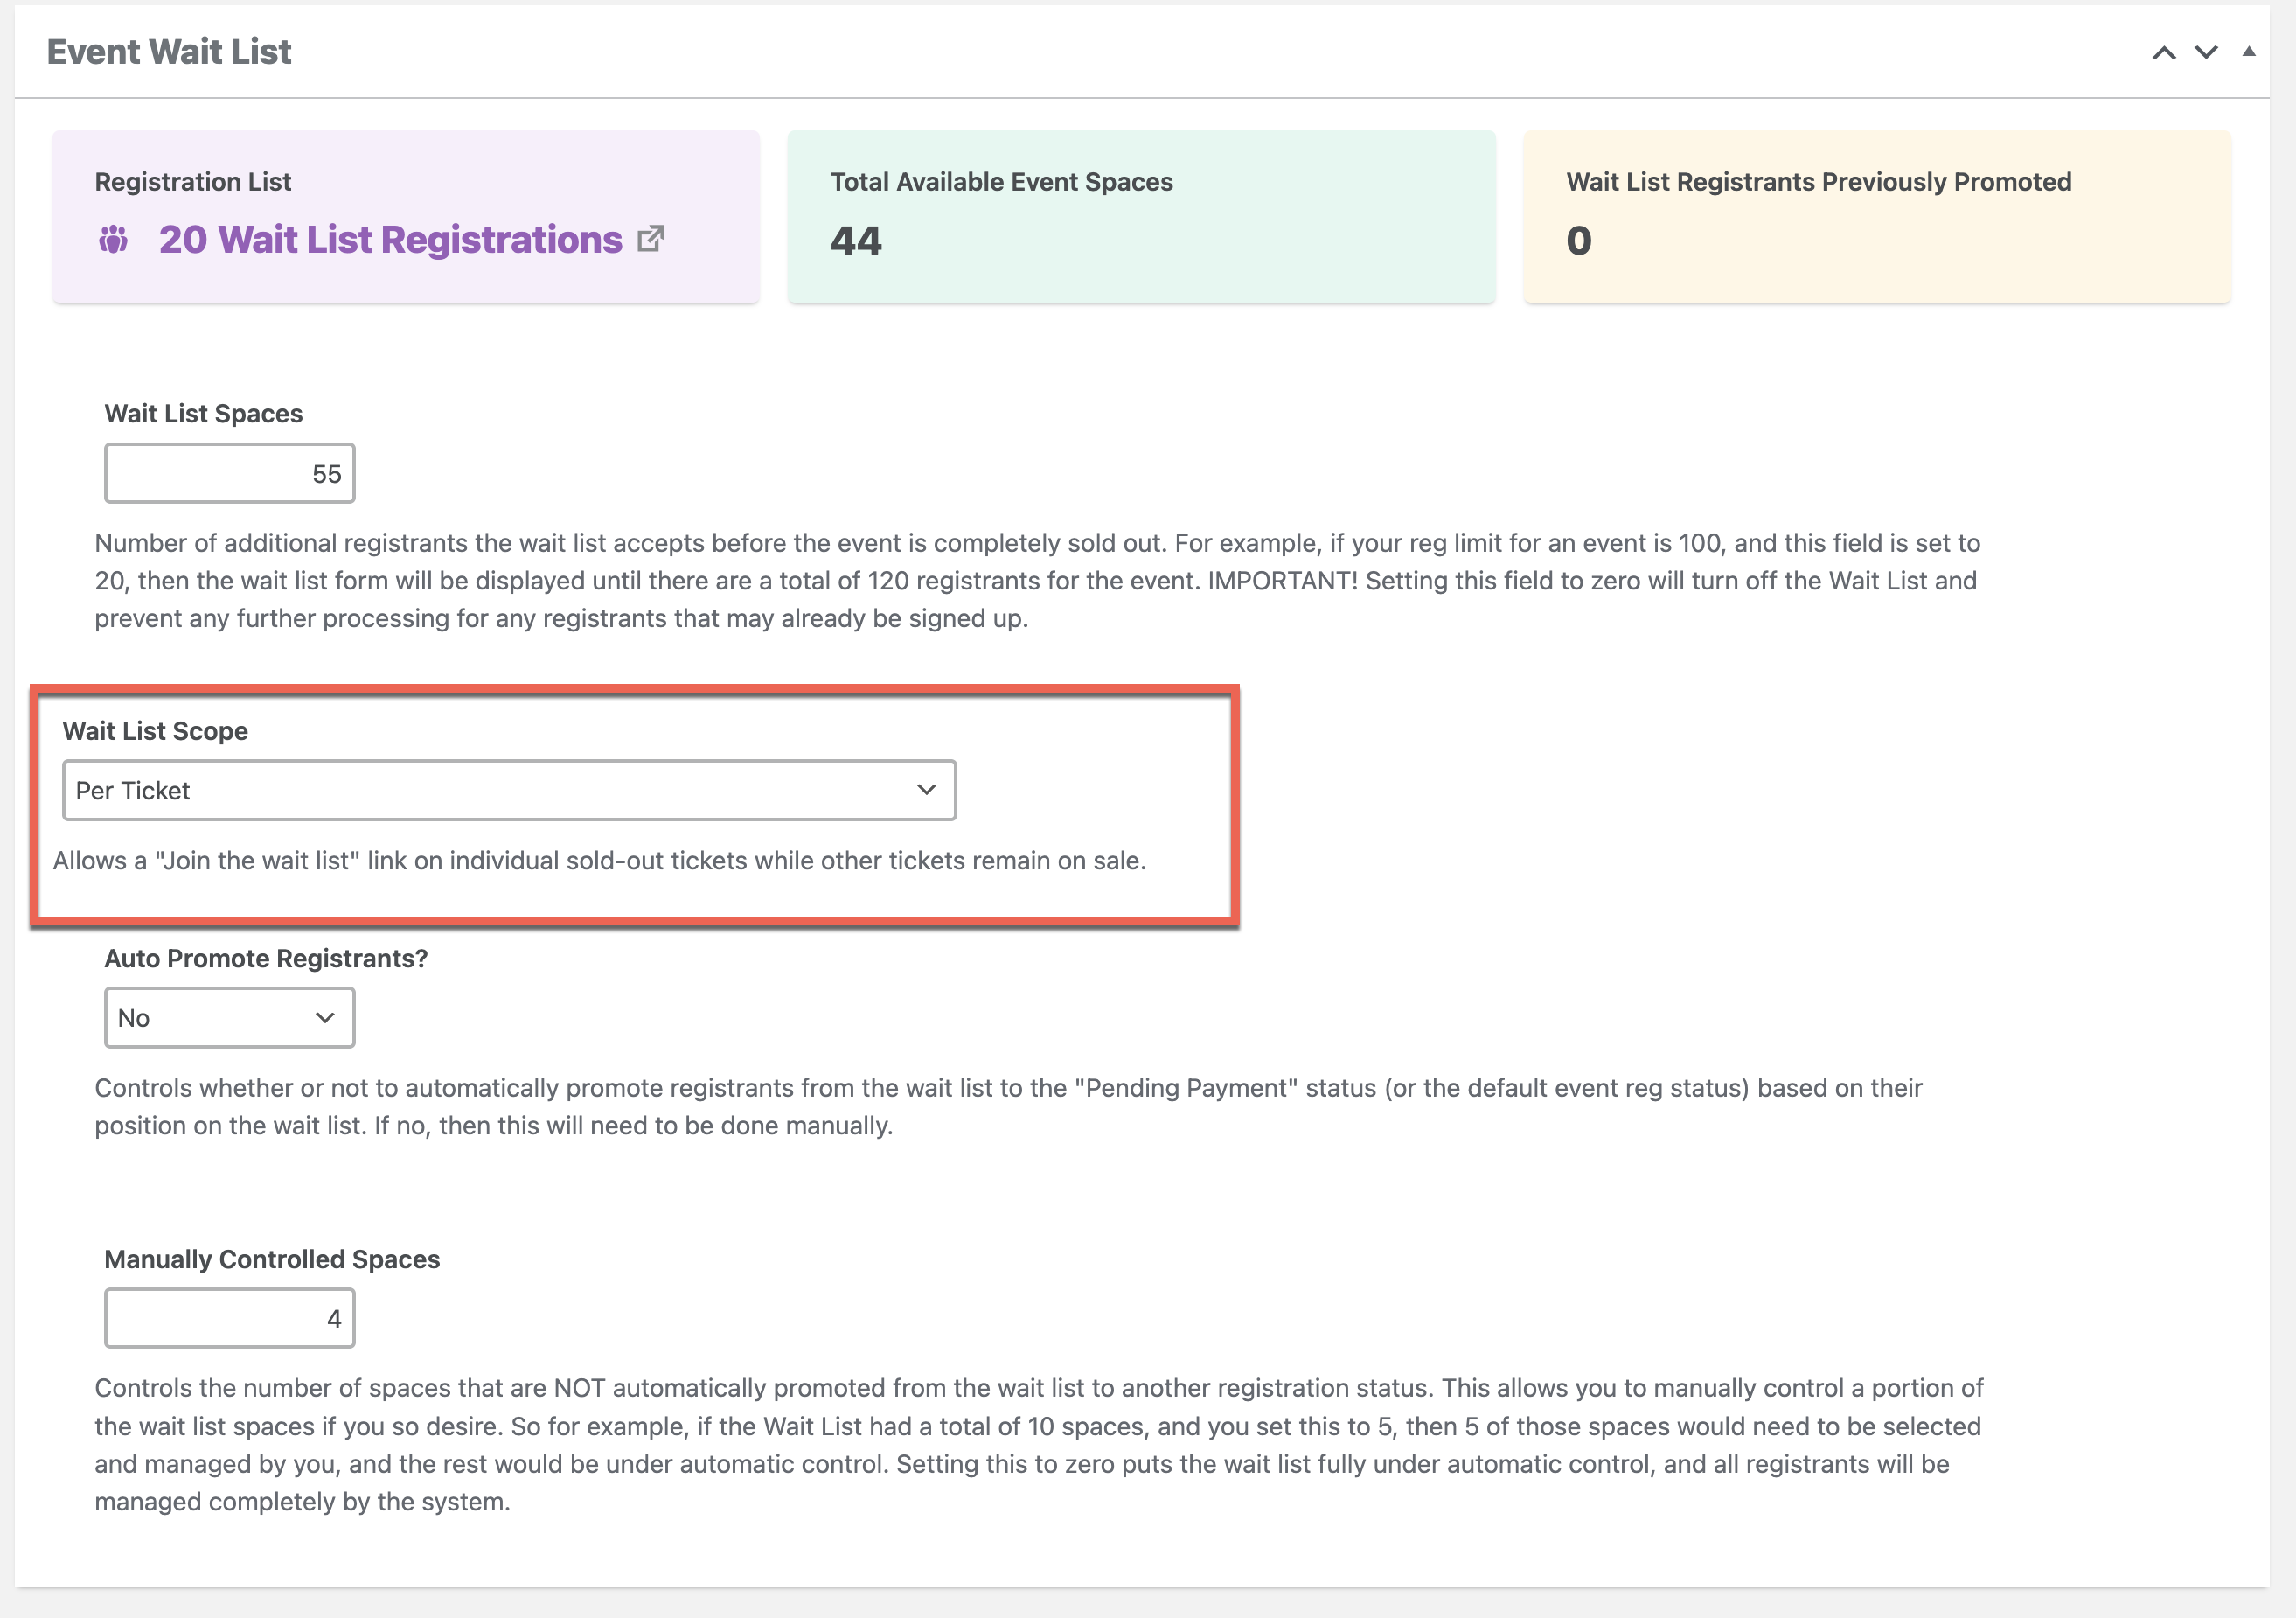
- Set Wait List Spaces to the maximum number of registrations that the event’s wait list can hold. Then select a Wait List Scope:
- Whole Event: The wait list becomes available after all ticket options for the event are sold out or fully booked. This is the default behavior.
- 🎉 (NEW) Per Ticket: A “Join the wait list” link appears for an eligible sold-out ticket while other tickets remain available.
- Per Ticket mode uses one shared event-level wait list. The Wait List Spaces setting is not a separate limit for each ticket.
Usage
Once you’ve enabled a wait list by setting Wait List Spaces, the front-end behavior depends on the selected Wait List Scope.
- In Whole Event mode, the ticket selector is replaced by a Sign Up For The Wait List button after the entire event sells out.
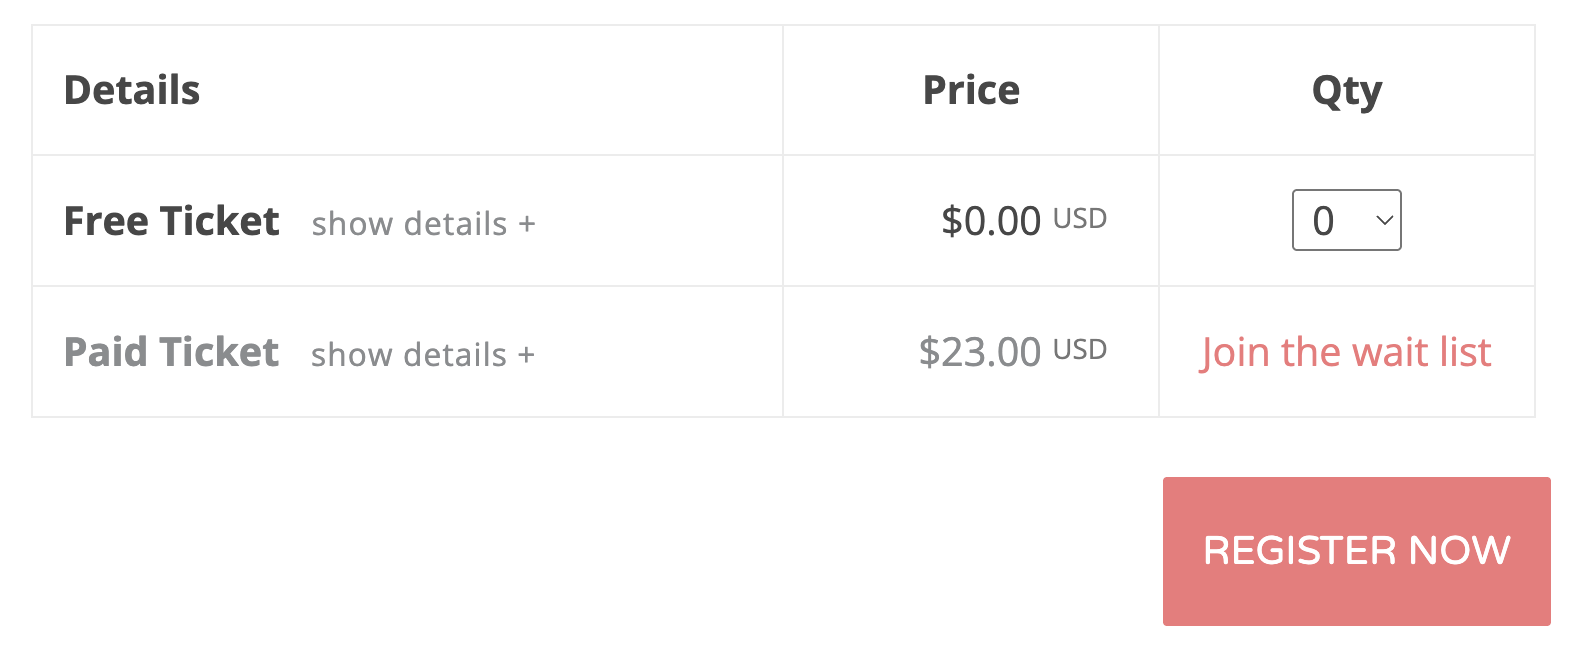
- In Per Ticket mode, the ticket selector remains available while the event has tickets on sale. An eligible sold-out ticket displays a Join the wait list link in its ticket row, while tickets that still have capacity retain their normal quantity selectors.
Wait List Front-end
Whole Event Mode
In Whole Event mode, a sold-out event displays the event-level Sign Up For The Wait List button.


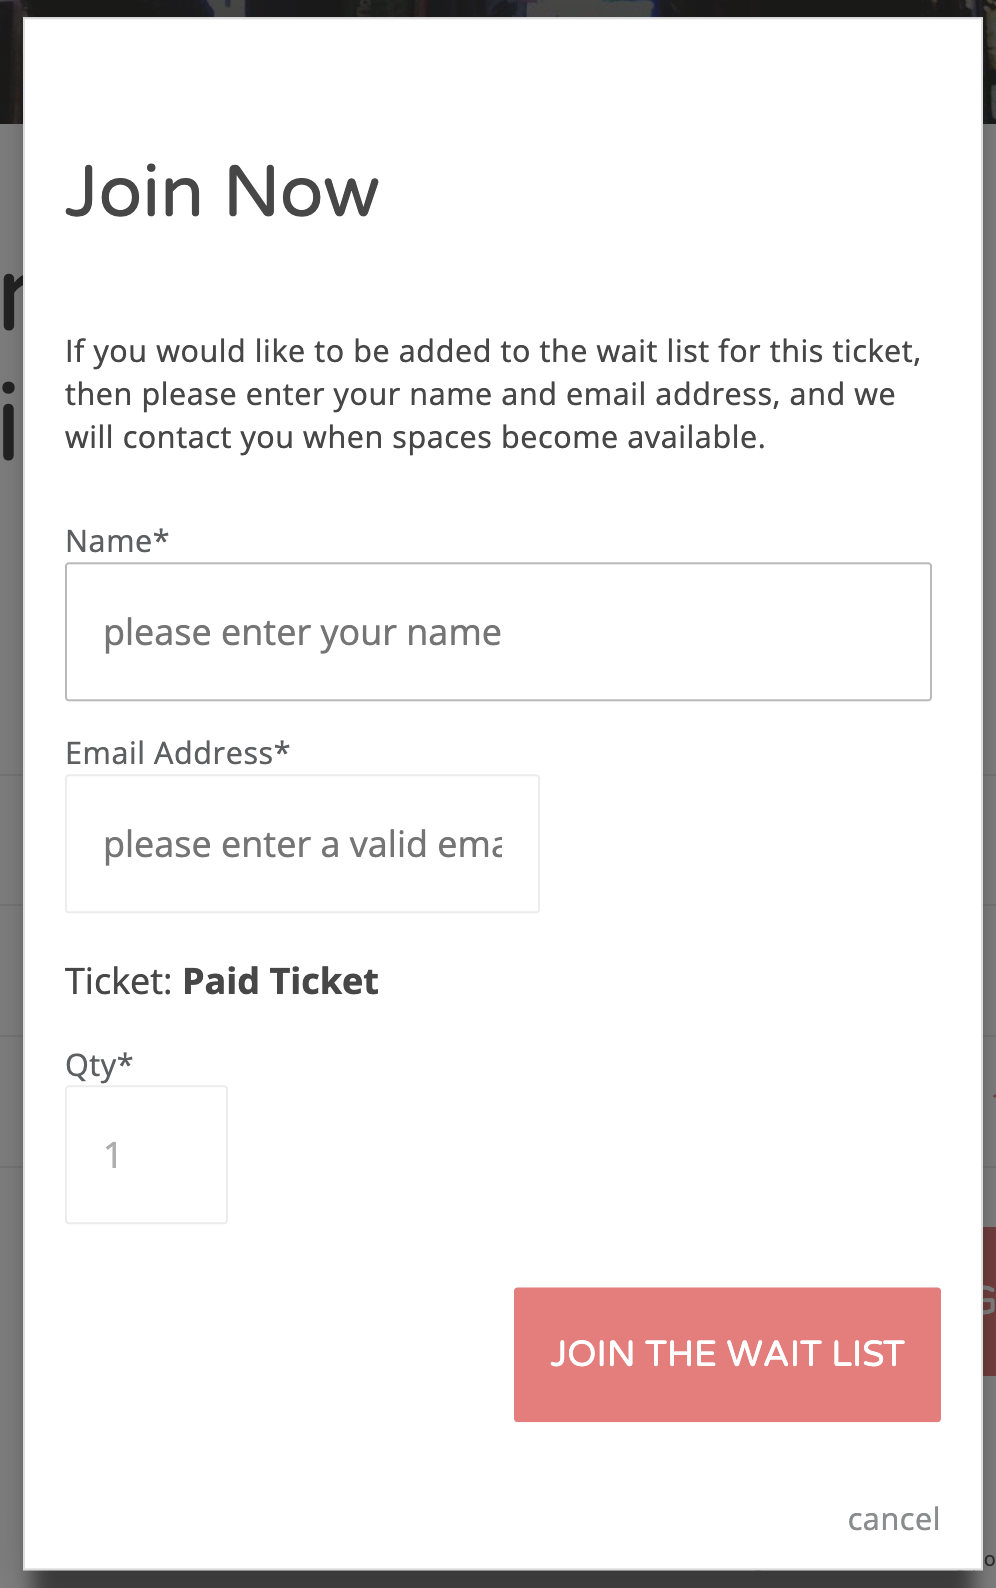
When an attendee selects a wait-list button or link, a modal opens to collect their information. In Whole Event mode, the attendee can select an available wait-list ticket option.
Per-Ticket Mode
In Per Ticket mode, the modal is associated with the sold-out ticket whose Join the wait list link was selected.
Once all spaces in the event’s shared wait list are taken, the event-level wait-list button and any per-ticket wait-list links are no longer displayed. Increasing Wait List Spaces or otherwise freeing space in the wait list allows signup options to appear again when the other eligibility requirements are met.
Manually Processing Standby Registrations
Once registrants are added to the wait list, you can easily follow-up with them or promote their registration to approved, pending payment, and more, if any spaces open up for the event.
To manually promote registrants, head on over to the Registration List table filtered for the wait list:

Here you can get an overview of wait list registrations, promote registrations, view registrant information, and resend notifications.
To promote someone on the wait list, click the person’s name or select one or more registrations and use the bulk actions to change their registration status. Before manually promoting a registration in Per Ticket mode, confirm that capacity is available for the ticket selected by that attendee. For this example, click a single wait-list registration to view its details.

From there you can change the registration status and send related messages. If you are running a paid event, you can use the “Pending Payment” option to make sure the attendees pay before taking a spot in the registration list. However, if you’ve promoted multiple attendees to “Pending Payment” and only have a limited number of spaces, then the first attendees to pay will receive their spot on the “Approved” registration list.
Warning!
Reducing available spaces after promoting registrants should be avoided at all costs.
Auto-promotion Settings
The Auto Promote Registrants setting automatically promotes eligible wait-list registrations when capacity becomes available. In Whole Event mode, promotion is based on available event capacity. In Per Ticket mode, a registrant is eligible for promotion when capacity becomes available for the ticket they selected when joining the wait list.
Wait-list order is considered across the event’s shared wait list, but a registrant cannot consume capacity belonging to a different ticket.
Note: Per Ticket mode controls which sold-out tickets accept wait-list signups and which ticket capacity can be used for promotion. It does not create independent wait-list signup limits for each ticket. All signups count toward the event’s shared Wait List Spaces limit.
You can also leave some spaces on manual control if desired.
Wait List Messages
The Wait List Manager creates three additional messages that send when your customers sign-up for a wait list. To edit and manage the Wait List messages, login to your WP dashboard and go to Event Smart –> Messages –> Default Message Templates.
Once on the Default Message Templates dashboard, you may need to navigate to the second page of messages. Once you are on the second page of the messages overview, you should see the newly added Wait List Messages:

From there you can edit the content of each message to meet your needs.
Wait Lists for Free Events
When someone is automatically promoted for a free event, an email is sent to the person to confirm their registration. You should see in your Event Smart > Messages > Message Activity tab, an email to that person called "Registration Promoted From Wait List Notification". At this point, the attendee’s registration status is set to “Pending Payment.” While the payment function may not apply in your situation, the “Pending Payment” status is being used here as a pending status to indicate that we are awaiting action from the attendee. In this case, attendees need to confirm their registration to indicate that they still plan to attend. If they do not confirm within a specified time frame, their registration should be canceled, allowing the system to offer the spot to someone else. This ensures that only attendees who actively confirm their interest are marked as Approved. Once someone confirms their registration, their status is changed from Pending Payment to Approved.